/ 更新: 2017/4/19
Xamarin Visual StudioでPicassoを使って画像を表示してみました。
Picassoを使えば、画像ダウンロードやキャッシュを効率的に行ってくれるという情報があったので、Xamarin Visual Studioでサンプルアプリを作ってみました。
「PiccasoTest」という名前にしました。(Picassoのスペル間違えました。。。)
まず、プロジェクト「PiccasoTest」を作成
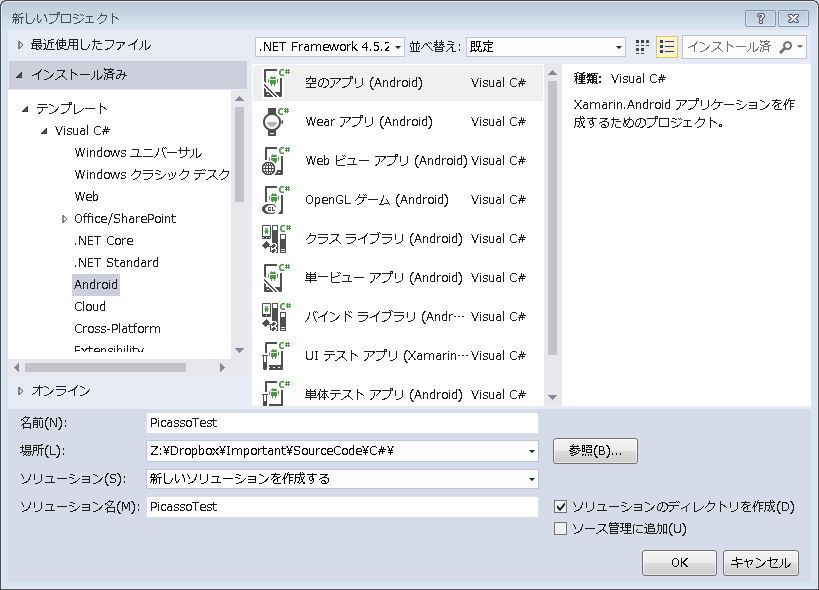
Picassoのライブラリを追加
PicassoのライブラリはNugetで追加します。
ツール>Nugetパッケージマネージャー>パッケージマネージャーコンソール
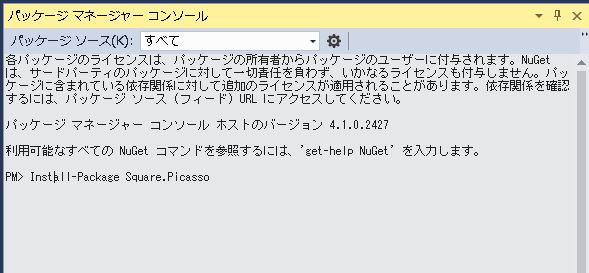
「Install-Package Square.Picasso」と入力しEnterキーを押すと、
インストールされます。
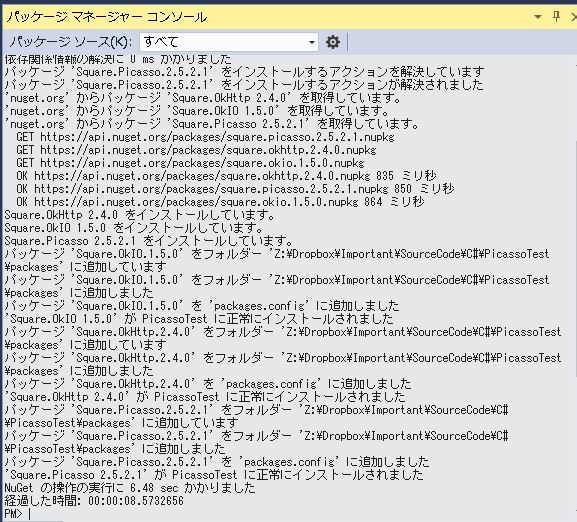
いろいろインストールされていますね。
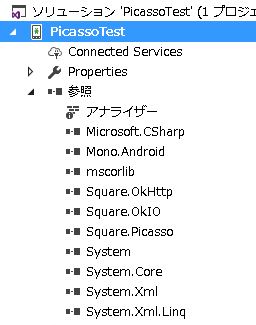
参照に「Square.OkHttp」、「Square. OkIO」、「Square. Picasso」が追加されました。
Main.axmlに、Plain Text、Button、ImageViewを追加しました。
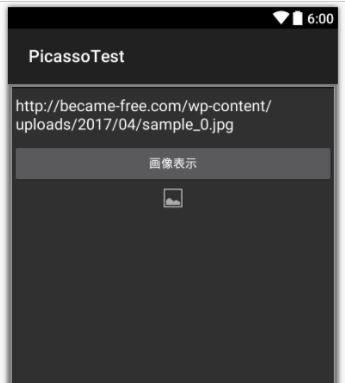
Plain Textには、画像のURLを入力しておいて、Buttonをクリックしたら、ImageViewに画像が表示される予定です。
Main.axmlのコードは以下です。
<LinearLayout xmlns:android=“http://schemas.android.com/apk/res/android”
android:orientation=“vertical”
android:layout_width=“match_parent”
android:layout_height=“match_parent”
android:minWidth=“25px”
android:minHeight=“25px”>
<EditText
android:layout_width=“match_parent”
android:layout_height=“wrap_content”
android:id=”@+id/editText1”
android:text=“https://became-free.com/wp-content/uploads/2017/04/sample\_0.jpg” />
<Button
android:text=“画像表示”
android:layout_width=“match_parent”
android:layout_height=“wrap_content”
android:id=”@+id/button1” />
<ImageView
android:src=“@android:drawable/ic_menu_gallery”
android:layout_width=“match_parent”
android:layout_height=“wrap_content”
android:id=”@+id/imageView1” />
MainActivity.csのコードを下のように書き換えました。
using Android.App;
using Android.Widget;
using Android.OS;
using System;
using Square.Picasso;
namespace PicassoTest
{
[Activity(Label = “PicassoTest”, MainLauncher = true, Icon = “@drawable/icon”)]
public class MainActivity : Activity
{
protected override void OnCreate(Bundle bundle)
{
base.OnCreate(bundle);
// Set our view from the “main” layout resource
SetContentView (Resource.Layout.Main);
EditText txtURL = FindViewById(Resource.Id.editText1);
Button btnDispImage = FindViewById
